Render unto Datazen – a solution for rendering issues

In the latest server build (which I spoke about here last week), some users were running into issues with the Datazen rendering service.  In plain English, it just means they weren’t seeing their dashboard thumbnails properly in the web browser or client apps.  We’ll be tweaking the server install slightly to make sure this doesn’t occur for anyone, but if you have an issue prior to that being updated, there is a simple fix for this.

In your Datazen server file explorer, navigate to the following folder –

C:\Program Files\Datazen Enterprise Server\renderer\svc

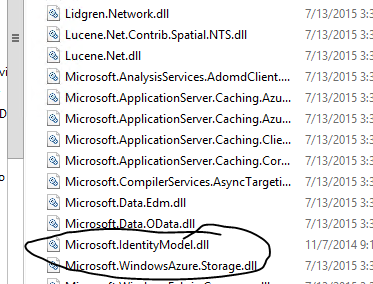
Copy the ‘Microsoft.IdentityModel.dll’ file –
image
Paste it into the following folder –

C:\Program Files\Datazen Enterprise Server\renderer\viewer

You can then restart the Datazen Server rendering service on your server –

image
And your days of rendering issues should be over (if you were having any to begin with, that is).

New Datazen Server Build Brings some MDX Magic

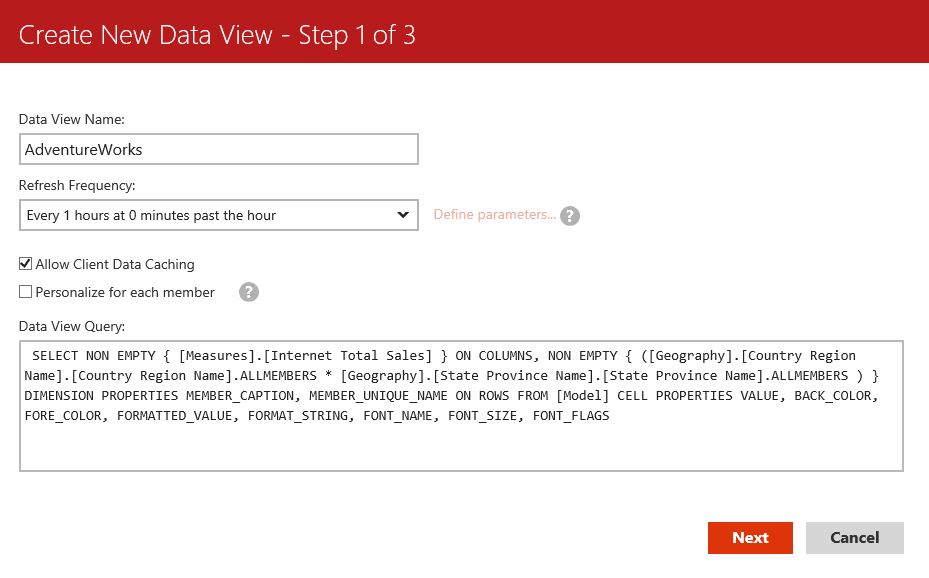
Oh, how I’ve waited for this day.  Finally, the days of handwriting MDX queries in Datazen server are over for me.  Thanks to the latest server update, the server can now handle MDX generated from a tool like SQL Server Management Studio or SQL Server Report Builder.  Not only that, I have additional control over the field names and field types when the query results are returned.  Let me show you how it works using SSMS – Right-Click on your database and select browse – image The handy Model browser comes up where I can drag and drop my fields from my model and build my query. image I’ll bring in Country Region Name and State Province Name from Geography plus Internet Total Sales from my Measures.  My results are returned like so – image Now I want to get the query that generated by this to use with Datazen.  I can simply toggle off Design mode by clicking this button in the toolbar – image And my query text appears – image I’m going to copy this text and switch over to my Datazen control panel and paste this query as a new data view under my SSAS data source – image Before today’s update, when I hit next, this query wouldn’t work.  It would just bring back a blank result set.  But now, a couple things now happen.  The first one is, a new screen appears in the wizard – image I now have the ability to change the display name, the data types being returned from the data source, and exclude certain fields from the result set.  This gives me a lot of flexibility I didn’t have previously.  So I’ll change my display name to the following – image I hit next and Whammo (that was for Mike Gannotti) – the query not only works, it is all cleaned up and ready for my Datazen dashboards – image This is great news for folks who love Datazen, but don’t love handwriting their MDX queries.  And the new abilities to change the display name, data type and field list is there for all datasets, not just SSAS.  So SQL Server customers, grab the new server build of Datazen and take advantage of this great new functionality. Thanks for reading!

Combine Datazen dashboards with Power BI Q&A functionality

Happy Friday, everyone!

Did you know that Power BI now allows you to directly link to individual dashboards?  This got me thinking – I love the Q&A functionality in Power BI.  Could I easily put together a solution where I used Datazen for my dashboards and jumped into the Power BI service to ask additional questions?  Why yes, yes I can.  Here’s how –

For this example, we’ll use a simple Excel workbook as the data source.  But let’s leverage the capabilities of OneDrive for Business to make this solution a bit more elegant.

image

Why?  Couple reasons –

1. Power BI will automatically refresh datasets sitting in OneDrive every hour, so anytime you update your Excel data, it’ll get grabbed automatically by Power BI shortly thereafter.

2. You can leverage the OneDrive for Business sync client to save Excel files locally on your PC and have them automatically sync to other machines running the sync client.  This makes it easy to get my Excel files onto my Datazen server after I’ve installed my sync client on there – I can refresh my files locally, save them to my OneDrive folder on my PC, and they’ll show up on the Datazen server within minutes!  I could even use a tool like Power Update to automate the data refresh of my Excel files.

Let’s get started –

First, I’m going to open Datazen and draw my dashboard first so I know how I should lay out the data in my Excel workbook.

Screenshot (34)
With that done, I’m going to create my workbook from my live data source using Power Query to make sure it’s laid out the way I need.
image
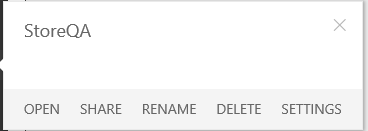
Now, I’m going to save the file to OneDrive for Business.  Once that’s done, I’m going to my PowerBI.com site and creating a new dashboard called “StoreQA”.
image
Now, I’m going to add my data to the dashboard.  So I click “Get Data”
image
Then I select “Files”
image
Now I want to select the “OneDrive for Business” tile
image
And then find the file I just saved

image
and hit “Connect”.  It’ll then bring my data into the dashboard and I can leverage Q&A with it.
image
I’m going to leave this open for now, and jump back to my Datazen Publisher App to bring in the Excel data to my Datazen dashboard.  You’ll need to setup the OneDrive for Business folder on your Datazen server as the location for the Excel data (this assumes you setup the sync agent on the box already).

image

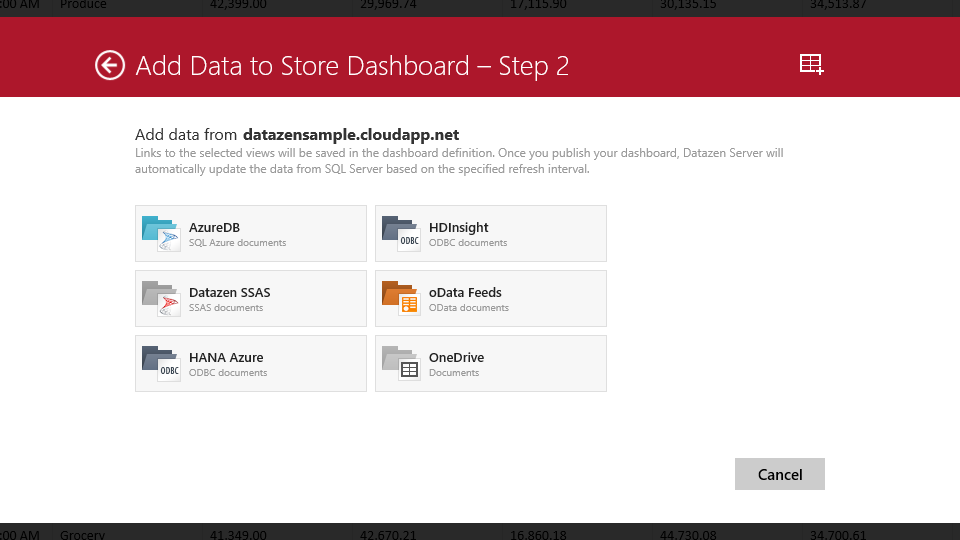
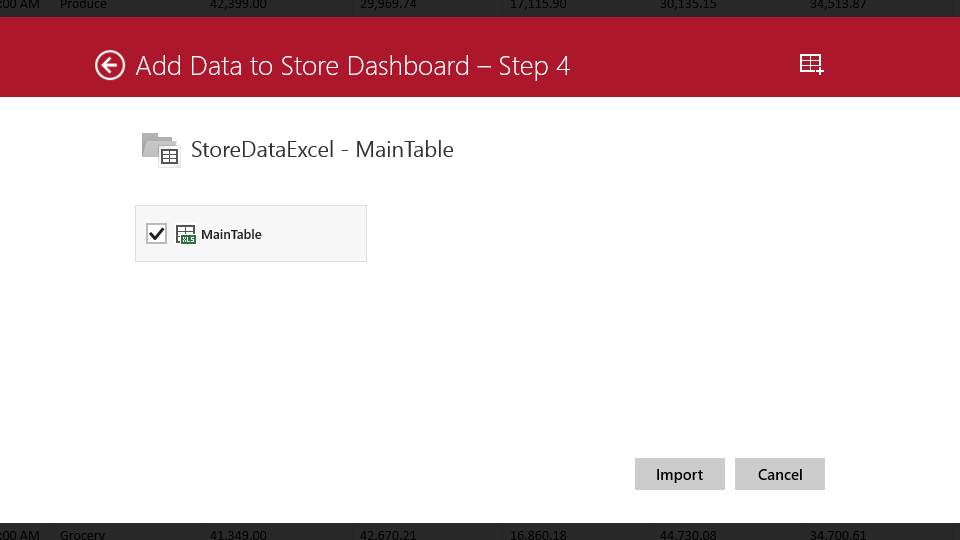
With that done, you can bring in the Excel data to your Datazen dashboard
Screenshot (35)
 Screenshot (36)
and hook back in the elements accordingly.

Screenshot (39)

Once that is done, you’ll want to create a link from the Datazen dashboard to the Q&A in Power BI for this dataset.  Go back to your browser and grab the URL for the dashboard from the address bar.  It’ll look like the example here – https://app.powerbi.com/dashboards/xxxx

To go directly to the Q&A functionality for this dashboard, just add ‘/qna’ at the end of the url, so it then looks like this – https://app.powerbi.com/dashboards/xxxx/qna
You can test it out and see how it takes you right to the question and answer area for this dashboard –
image
Simply copy that link and select an element on your dashboard you’d like to link to the Q&A piece from
image
by using the Drill-Through Target functionality to point to a custom URL
Screenshot (37)
Now when I click on the element, I get right to the Q&A page in Power BI with the same dataset so I can ask it more questions about my data
image
If you really wanted to get clever, you could even use the parameter functionality.  See how when I ask a question in Power BI, the URL changes to include the question text –

https://app.powerbi.com/dashboards/f31f7d2f-13ba-4e21-8b22-754ac62d39d7/qna?q=what%20were%20total%20sales%20for%20grocery%20by%20year

and gives me the following result

image

I can simply change it to use a parameter instead, so it would look like this –

https://app.powerbi.com/dashboards/f31f7d2f-13ba-4e21-8b22-754ac62d39d7/qna?q=what%20were%20total%20sales%20for%20{{ SelectionList01.SelectedItem }}%20by%20year

and when I run my dashboard, I can change the dropdown
Screenshot (38)

and the question will dynamically change when I click on my element with the link to Power BI!

image
Remember, you have to publish the dashboard to your server before you can test the URL drillthrough in Datazen!

And with Power BI now having the ability to setup custom links with it’s elements, you could even pin the tile for the question you just asked so you could jump back to your Datazen dashboard!

image 
Hopefully this helped open up a number of possibilities with the tools for you to explore.  Have a great weekend, and don’t forget to download the Windows 7 publisher app currently in preview from here and give it a spin.

Thanks for reading!

How to enable user activity reporting on your Datazen dashboards

One of the common questions that has come up around Datazen is folks wanting to see some basic information around their dashboard usage.  While there isn’t anything like that available on Datazen server right now, there is a way you can setup the collection of some simple metrics on each dashboard.  Let’s walk through how you do it.

You’ll need to setup a table on a SQL Server instance (or Azure SQL Database is a great option, and what we used for this example) to collect the metrics.  The table will have just a few fields – ActivityId, ActivityDate, ActivityDashboard, and ActivityUserName (I’ll provide the SQL scripts I used for this as part of a zip file you can download at the end of this post).

image

Once you’ve created the table, you need a way to insert the data coming in from your Datazen dashboards.  We’ll use a simple stored procedure that runs each time someone opens a dashboard.  You need to make sure the procedure also includes a simple select statement after your stored procedure executes.  I’ll explain why in a little bit –

image

Once that’s done, switch over to your Datazen server instance and add this SQL instance as a new data source.

image

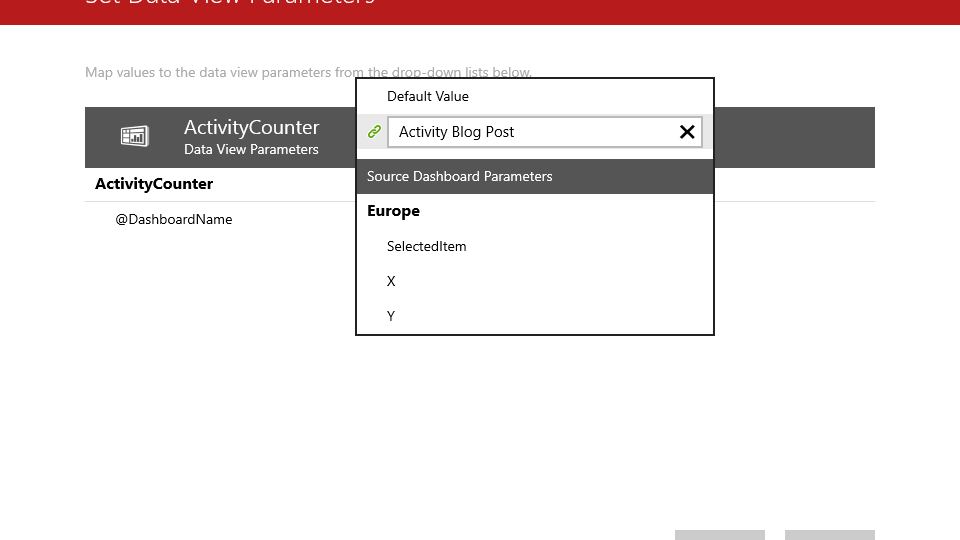
Here’s where the magic happens – you’ll want to add the stored procedure as a query, and this needs to be a real-time data connection.  You’ll also need to make sure you are passing through the parameters from Datazen that you need to capture.  So you’ll first add a new parameter from the ‘Define Parameters’ link highlighted here –
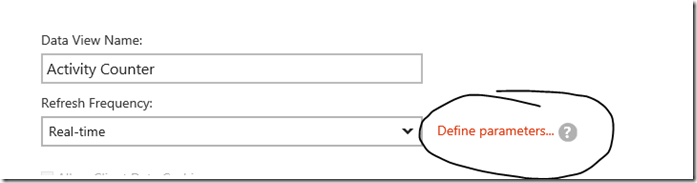
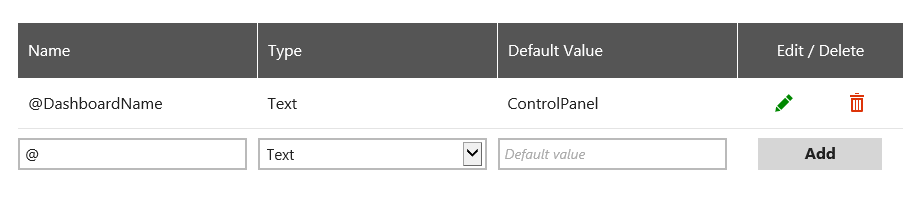
imageSetup a parameter for your Dashboard Name and assign a default value that will appear when a user is entering the dashboard design screen for that dashboard.  This allows you to determine who might have made changes to a dashboard, for example.  Here’s what I chose –

image
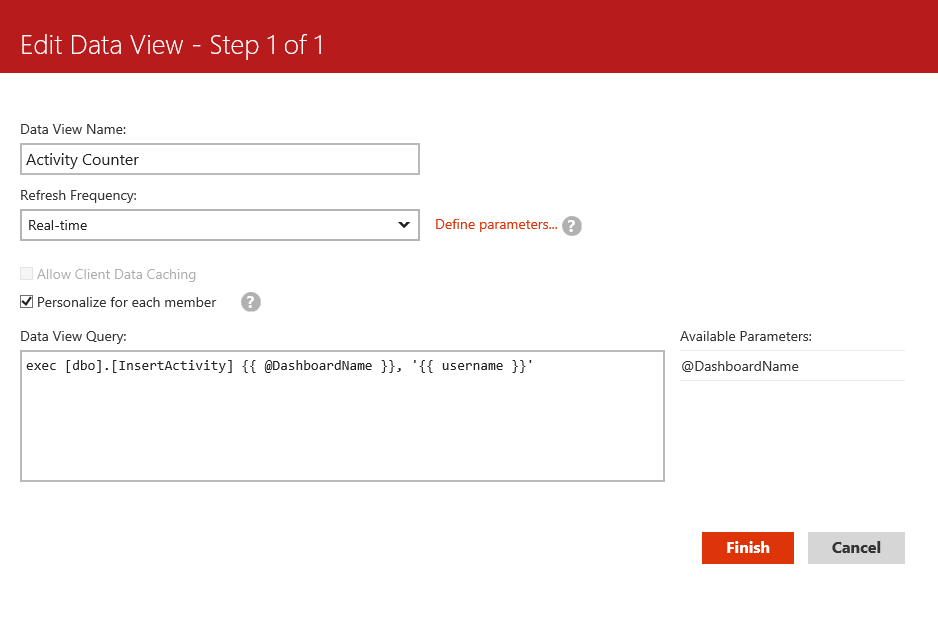
Once complete, I’ll now enter my query text and make sure I’ve checked the ‘Personalize for each member’ option.  This will give me the ability to capture the username for each user and pass that as a parameter.  Here’s my final result –

image
Notice I added single quotation marks around the username parameter, and also used curly brackets around each parameter I am passing back to the stored procedure.  It won’t work properly if you don’t do that.

I hit finish to save this information, and I now have the following in my list of data queries.  It was successfully setup, but I don’t have the ability to preview the data like I do with other queries I’ve created.  That’s okay, as long as you have the successful status message like I’ve highlighted here. 

image

To test this out, I go into my Datazen publisher app and create a brand new dashboard with a single widget.  It doesn’t matter which one, be creative!

Screenshot (30)

Once complete, you now can add the data source you created earlier to the dashboard.  Here’s where you see the results of the query that runs in the stored procedure.  Datazen has to have a result set returned for the data view to be added to the dashboard, which is why we had to have the query included  –

Screenshot (31)To make sure you properly now capture the dashboard name, you need to click the Param. selection under the gear in the data source tab to bring up the selection screen.

Screenshot (32)

Then type in the dashboard name as the default value that gets passed back to the SQL table.
Screenshot (33)
Hit Apply and run a preview of your dashboard.  If you check your table in SQL Server, you’ll see the resulting record has been inserted into the table.

image
You notice you don’t need to hook it into any of your dashboard widgets for this to work, and this will work for any dashboard you setup and publish to your Datazen server. 

Now you can view a simple report (maybe even in another Datazen dashboard!) that shows you the user activity for each of the dashboards you’ve added this data view to, including the time, username and dashboard name.  It also opens up a number of possibilities for you to fire off other events every time a user opens a dashboard that I’ll explore in future posts.

Here is a zipped file of the SQL scripts I used for this post – http://1drv.ms/1TbMVPN

Special thanks to Christopher Moncayo for his help with this post.
Shape of the Union or Free Datazen Maps!

This blog post will be short, but hopefully valuable for everyone.  I’ve included a link to a zip file at the end of this post containing all the US states and some variations on the continental US you might find valuable (4 region view, 9 region view, etc.)

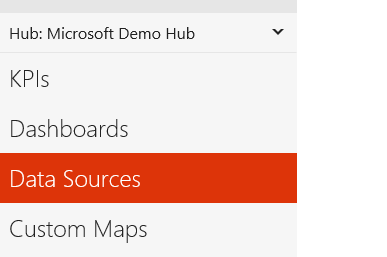
It’s easy to add these to your server and make them available in your dashboards.  To do so, go to the Datazen hub you wish to add the new map shape to and click “Custom Maps” on the left-hand navigation bar –

image 
Then click “Upload Map Shape” to open a new dialog and select the files you wish to upload –

image
image
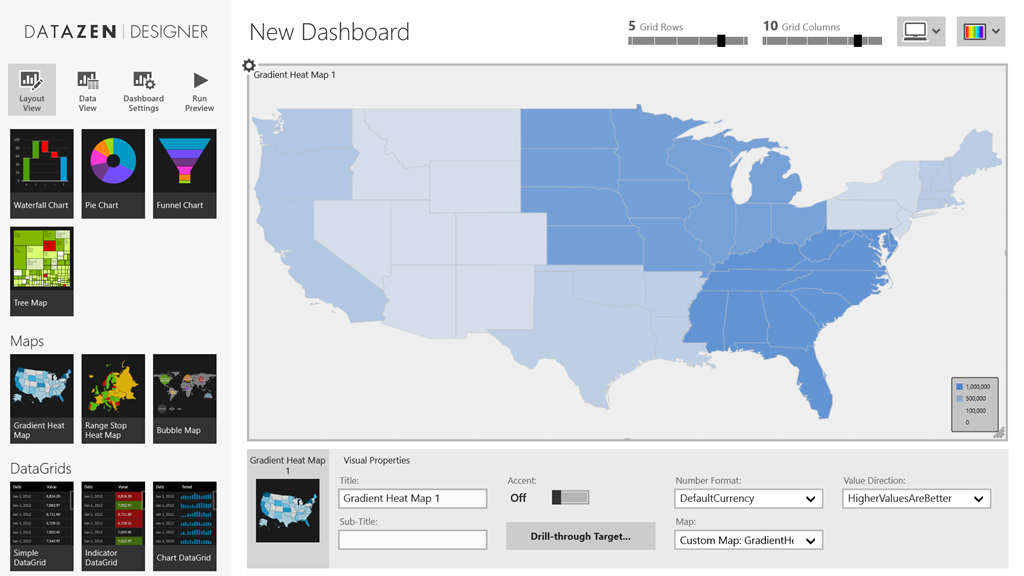
Once you’ve uploaded them, you’ll have access to them whenever you select any map object in your designer screen by selecting “Custom Map from Datazen Server” in the dropdown.  You’ll be prompted through a few screens to select the map you want to use.

Screenshot (1)

Screenshot (5)

Screenshot (3)

Screenshot (4)

Now you have your new map in your dashboard!

Here is a link to the files for you to download and use – http://1drv.ms/1FOAwXL

Enjoy!

How to use Visual Studio LightSwitch oData feeds with Datazen and Azure

In the most painfully overdue blog post ever, considering my love of all things LightSwitch and Datazen, I finally sat down and consumed an oData feed I generated from a LightSwitch project I published to Microsoft Azure to use in a Datazen dashboard.  It’s really pretty simple, and I’m kicking myself for not doing it before.  Anyways, here’s how you do it –

1. If you don’t have the foggiest idea what Visual Studio LightSwitch is, you can read more about it here.  It’s a fantastic tool for building rapid line-of-business applications for the desktop and mobile web apps.  Plus, it’s available in the community edition of Visual Studio 2013, which is free for individual developers!

2. You need an app you are going to deploy and use the data feed from.  Beth Massi has an excellent walkthrough (including a link to a sample app you can use) of how you can deploy a LightSwitch App to Azure.  It’s very easy to do, and this is a great option to make your app available for Datazen to consume.

3.  Once published, LightSwitch exposes the different data sources as easily consumable data feeds via oData, which happens to be one of the data sources that Datazen consumes out of the box with either anonymous or basic authentication.  You could also create a custom data provider that used more advanced authentication options.  To learn more about what oData is, you can read about that here.

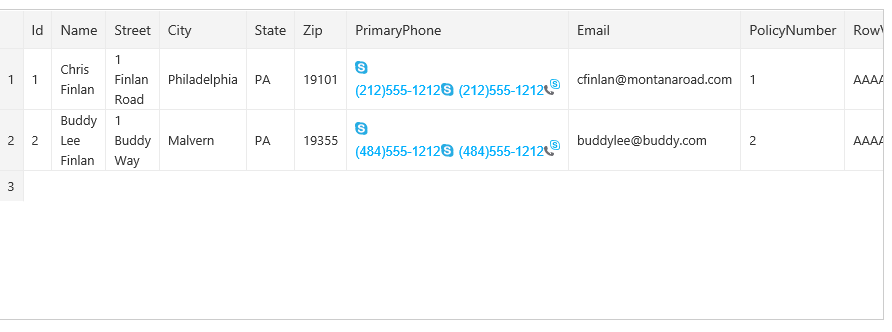
So I published a simple app and put in some sample data to use with my Datazen Server –

image

Now, how do I setup Datazen server to use this feed as an oData source?  Well, this confused me the first time I did it, so let’s go through it –

Login to your Datazen server as the admin, and choose the hub you wish to add this feed as a new data source for. 

image  

Now add a new data connection –
image

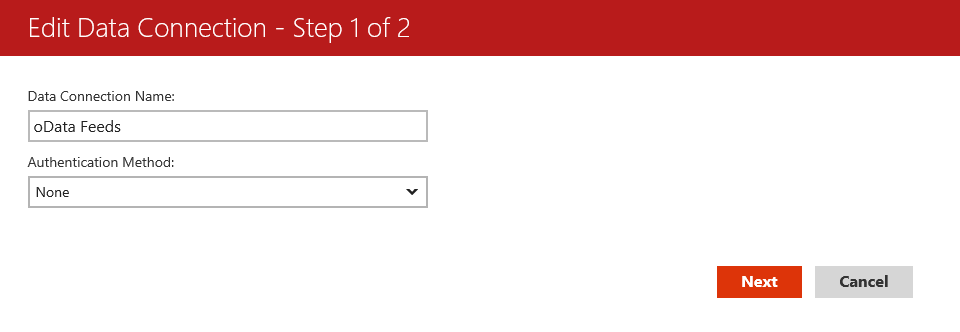
This is where you might get tripped up.  Unlike every other data source listed, you don’t actually enter the data connection string at this point.  You give your data source a name, choose the authentication method (and enter your credentials), hit next to setup permissions for the feeds, then hit finish.
image

If you try and put in the URL as the data connection name, it doesn’t save it, so it looks like the oData data source doesn’t actually work.  Once you’ve saved the data connection details, you’ll see a new folder appear in you folder/data connections list –

image 
Now, you click the folder name, and click the new data view button to add your first oData feed.

image

Here, you can now enter the url in the OData view URL area that you wish to consume.

image
Hit next then success, the feed is there and working!

image
This gives you an easy way to visualize your data from your LOB app using your Datazen on your favorite mobile device.  It also opens up a number of options around filtering your data prior to bringing it into Datazen using the entity set filter options with LightSwitch.

Thanks for reading!